Table of Contents
- Why Backing Up Your Phone Before Repair Matters
- How to Backup iPhone Before Repair
- How to Backup Android Phone Before Repair
- How to Backup Phone with Broken Screen Before Repair
- Preparing Your Device: Factory Reset Phone Before Repair
- Data Privacy During Smartphone Repair: What You Need to Know
- Verifying Your Backup and Restoring After Repair
- Common Mistakes to Avoid When Preparing Your Phone for Repair
Last Updated: August 30, 2026
Why Backing Up Your Phone Before Repair Matters
Your phone contains years of memories, work files, financial information, and personal data. A proper backup protects everything if something goes wrong during repair. When you have a complete backup, you can wipe your device clean before handing it over, removing sensitive information like banking passwords and personal photos from the technician’s reach.
At Normal Gadgets, we’ve completed over 125,000 device repairs since 2012. Customers who backup their phones before repair experience faster turnaround times and zero data loss concerns. Those who don’t often face complications, sometimes the device can’t be diagnosed without a factory reset, or data recovery becomes necessary after repair.
This guide walks you through exactly how to backup your phone before repair, how to handle devices with broken screens, and what data privacy steps you should take before handing your device over to any repair shop.
How to Backup iPhone Before Repair
The ideal iPhone backup strategy uses two methods: iCloud for cloud synchronization and a computer backup for local redundancy.
Using iCloud
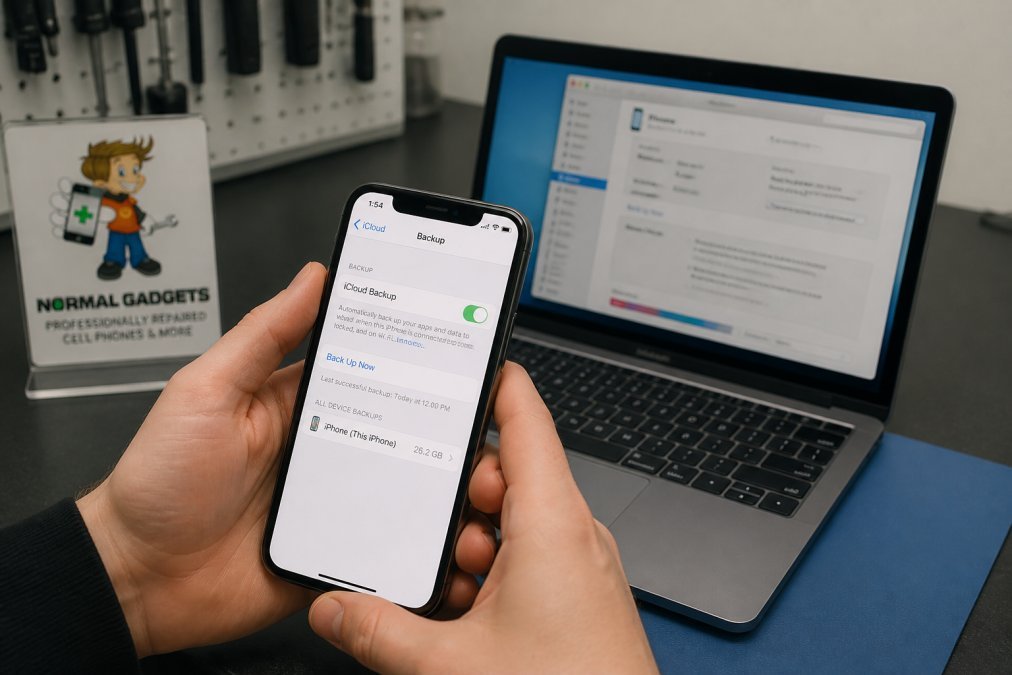
iCloud backup captures your device settings, app data, photos, messages, and contacts, everything except what’s already stored separately in iCloud services like Photos, Mail, and Contacts.
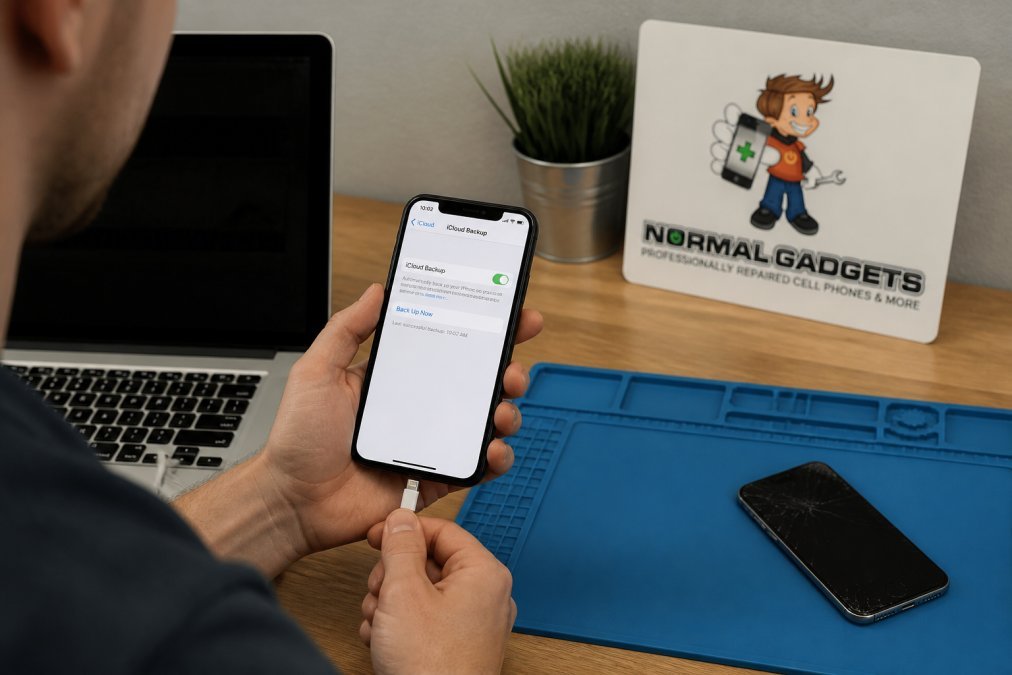
Steps to back up your iPhone to iCloud:
- Connect to a Wi-Fi network (required for iCloud backup)
- Open Settings and tap your name at the top
- Select "iCloud"
- Scroll down and tap "iCloud Backup"
- Ensure the toggle is on (it should show green)
- Tap "Back Up Now" to start an immediate backup
- Leave your iPhone connected to Wi-Fi and plugged in until the backup completes (this can take 15 minutes to several hours depending on device size)
Once the screen shows "Back Up Now" again with today’s date, the backup is complete. iCloud stores your backup for 180 days, long enough for most repairs (support.apple.com).
iCloud backup does NOT include your passcode or biometric data (Face ID/Touch ID settings) (support.apple.com). It also doesn’t back up data already stored in separate iCloud services, your Photos library, iCloud Drive files, and Mail are synced separately and will restore automatically if you’re signed into the same iCloud account.
Using a Computer with Finder or iTunes
A local backup to your computer provides a second copy and can be encrypted to protect your data with a password.
Steps for macOS Ventura and later (using Finder):
- Connect your iPhone to your Mac with a USB cable
- Open Finder and locate your iPhone in the sidebar
- Click your device name
- Select "Back Up Now"
- If prompted, choose "This Computer" instead of iCloud
- Check "Encrypt local backup" to password-protect the backup (optional but recommended)
- Wait for the backup to complete
Steps for Windows or older macOS (using iTunes):
- Connect your iPhone to your computer with a USB cable
- Open iTunes
- Click the device icon when it appears
- Under "Backups," select "This Computer"
- Click "Back Up Now"
- Optionally check "Encrypt iPhone backup" for password protection
- Wait for completion
Encrypted backups include additional data like saved passwords and health information (support.apple.com). The computer backup creates a single file on your hard drive that persists even if you delete it from iCloud.
How to Backup Android Phone Before Repair
Android backup relies on your Google account for cloud synchronization. The process is simpler than iPhone because Android backs up continuously in the background, you just need to verify it’s working.
Using Google Drive and Google Account
Your Google account automatically backs up contacts, calendar events, app data, SMS messages, and device settings. Photos and videos go to Google Photos if you’ve enabled that service separately.
Steps to verify and trigger a Google backup:
- Open Settings on your Android device
- Tap "Accounts" or "Users & Accounts"
- Select your Google account
- Tap "Account Sync" or "Manage your Google Account"
- Go to the "Data & Privacy" tab
- Scroll to "Data from apps and services" and tap "Google Drive"
- Verify that "Backup" is enabled
- Return to Settings and search for "Backup"
- Tap "Backup and restore" and select "Back up my data"
- Tap "Back up now" to trigger an immediate backup
Check back in 10-15 minutes to confirm it completed successfully, the screen should show today’s date and time as the last backup timestamp. Google backups exclude your passcode, biometric authentication data, and some app-specific information.
Using Samsung Cloud or OneDrive
If you have a Samsung device, Samsung Cloud provides additional backup redundancy. OneDrive works on any Android phone and integrates with Microsoft services.
For Samsung Cloud:
- Open Settings
- Tap "Accounts and backup"
- Select "Samsung Cloud"
- Tap "Back up my data"
- Choose what to back up and tap "Back up now"
For OneDrive:
- Download OneDrive from Google Play if not already installed
- Open OneDrive and sign in with your Microsoft account
- Tap the menu icon and select "Settings"
- Enable "Camera upload" to back up photos and videos automatically
- Enable backup and tap "Back up now"
These secondary backups act as insurance if your primary backup fails.
How to Backup Phone with Broken Screen Before Repair
A broken screen creates a unique challenge: you might not be able to see what you’re doing, and touch input might not work.
If your screen is partially responsive:
You can often navigate using touch even if the display is cracked. Follow the normal backup steps above, working slowly and deliberately. Use voice commands if available, on iPhone, activate Siri by holding the side button; on Android, say "Hey Google."
If your screen is completely unresponsive:
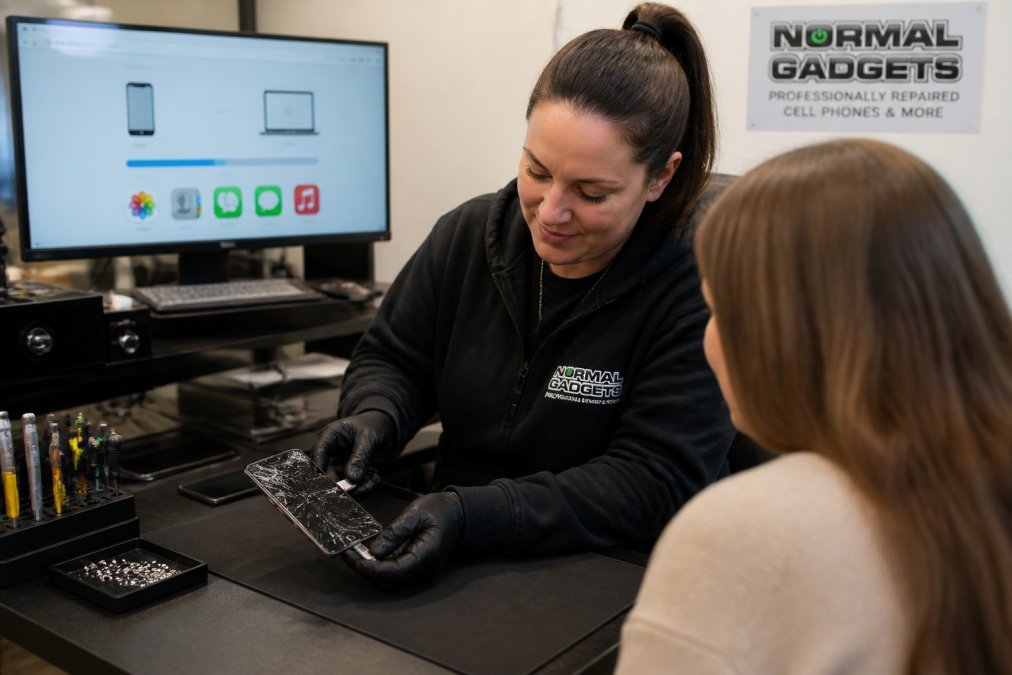
For iPhone with a broken screen, connect to a Mac or Windows computer via USB, unlock your iPhone using Face ID or passcode if it responds to these inputs, then open Finder or iTunes and follow the backup steps listed above. For Android with a broken screen, connect to a computer via USB and use Android File Transfer or a similar tool to copy your files to the computer. Your Google account backup continues in the background regardless of screen status. If neither option works, bring your device to a repair shop immediately. At Normal Gadgets, we can back up devices with completely non-functional screens before Screen Repair begins, ensuring your data is safe even when you can’t access your device yourself.
Preparing Your Device: Factory Reset Phone Before Repair
A factory reset wipes all data from your phone, returning it to its original state. This is the most aggressive data privacy step you can take before repair.
When to factory reset:
- Your phone contains confidential work documents or client information
- You’re concerned about the technician accessing your personal accounts
- Your device is severely compromised (virus-infected or hacked), in which case, Virus Removal for PC and Smartphones may be a better option than reset, as technicians can clean the infection while preserving your data
- You want absolute certainty that no personal data remains on the device
When NOT to factory reset:
- You haven’t completed your backup yet (reset deletes everything permanently)
- Your device has a broken screen and you can’t navigate the reset menu
- Your repair is minor (screen replacement, battery swap) and you want faster turnaround
A factory reset takes 10-30 minutes.
Steps to factory reset iPhone:
- Open Settings
- Tap "General"
- Scroll to the bottom and tap "Transfer or Reset"
- Select "Erase All Content and Settings"
- Enter your Apple ID password if prompted
- Confirm the reset (this cannot be undone)
Steps to factory reset Android:
- Open Settings
- Search for "Reset" or "Factory reset"
- Tap "System reset" or "Reset options"
- Select "Erase all data (factory reset)"
- Enter your PIN or pattern if prompted
- Confirm the reset
After factory reset, the repair technician has nothing to access except the hardware they’re repairing.
Data Privacy During Smartphone Repair: What You Need to Know
Repair technicians need access to your device’s operating system to diagnose problems and test repairs. Understanding what they can and cannot access helps you make informed decisions about data protection.
What technicians typically access during repair:
Book Consultation/Appointment →
- The device’s file system to run diagnostic tools
- System logs to identify hardware failures
- Device settings to verify repairs are working
What they should NOT access:
- Your personal photos or videos
- Your email or messages
- Your financial apps or banking information
- Your browsing history or saved passwords
- Your social media accounts
A reputable repair shop like Normal Gadgets has strict privacy policies preventing unauthorized access. The best privacy protection is prevention. Remove sensitive accounts before repair: sign out of email, banking, and social media apps; remove stored passwords from your browser; disable biometric authentication (Face ID/Touch ID) if possible; remove payment methods from digital wallets; and disable Find My/Activation Lock.
Disabling Find My and Activation Lock:
These security features prevent someone from using your device if it’s lost or stolen. But they also prevent a technician from fully testing the device after repair.
For iPhone (Find My/Activation Lock):
- Open Settings and tap your name
- Select "Find My"
- Tap "Find My iPhone"
- Toggle it off
- Enter your Apple ID password to confirm
For Android (Find My Mobile):
- Open Settings
- Search for "Find My Mobile" or "Samsung Find Mobile"
- Tap it and select "Unregister"
- Confirm with your Samsung account password
Disabling these features takes 2 minutes and makes the repair process significantly faster. Re-enable them immediately after getting your device back.
Verifying Your Backup and Restoring After Repair
A backup is only useful if it actually works. Before handing your device to the repair shop, verify that your backup completed successfully.
For iPhone:
- Open Settings and tap your name
- Select "iCloud"
- Tap "iCloud Backup"
- Check the timestamp next to "Last Backup", it should show today’s date and a recent time
- For computer backups, open Finder or iTunes, select your device, and look for the backup date under "Backups"
For Android:
- Open Settings
- Search for "Backup" or "Google account backup"
- Verify the last backup timestamp is recent
- Check that all important data types show as "backed up"
Restoring iPhone from iCloud backup:
- Set up your iPhone as new or go through initial setup after repair
- When prompted, select "Restore from iCloud Backup"
- Sign in with your Apple ID
- Choose the most recent backup
- Wait for restoration to complete
Restoring iPhone from computer backup:
- Connect your iPhone to the computer where you created the backup
- Open Finder or iTunes
- Select your device and click "Restore"
- Choose the backup you want to restore from
- Enter your backup password if you encrypted it
- Wait for restoration to complete
Restoring Android from Google backup:
- Set up your Android device as new
- Sign in with your Google account during setup
- When prompted, select "Restore from backup"
- Choose the backup you want to restore
- Wait for restoration to complete
Restoration can take 15 minutes to several hours depending on backup size and internet speed. After restoration, re-enable Find My/Activation Lock and reconfigure your biometric authentication.
Common Mistakes to Avoid When Preparing Your Phone for Repair
Mistake 1: Backing up to iCloud without verifying completion.
You tap "Back Up Now" and assume it’s working. But if your Wi-Fi disconnects or your phone goes to sleep, the backup stops. Always check the timestamp afterward to confirm it finished.
Mistake 2: Assuming cloud backup includes everything.
iCloud and Google backups exclude your passcode, biometric settings, and some app data. Use a local backup to capture everything.
Mistake 3: Factory resetting before backing up.
Reset wipes your device instantly and permanently. Always verify your backup is complete before factory resetting.
Mistake 4: Not removing sensitive accounts before repair.
A technician with access to your device can see your email, banking apps, and social media if you’re still logged in. Sign out of everything before handing over your phone.
Mistake 5: Forgetting to disable Activation Lock.
If you don’t disable Find My/Activation Lock, the technician can’t fully test your device after repair, extending repair time.
Mistake 6: Backing up to a single location.
Use both cloud and local backups. This redundancy ensures you recover your data even if one backup method fails.
Mistake 7: Not testing your backup restoration.
You don’t know if your backup actually works until you try to restore from it. If restoration fails, you’ll catch the problem before repair.
Preparing your phone for repair takes 20-30 minutes and eliminates data loss risk entirely. Whether you’re dealing with a cracked screen, water damage, or a malfunctioning battery, a proper backup ensures your data survives the repair process. At Normal Gadgets, we’ve seen thousands of devices come through our shop, customers with backups always have the smoothest experience. They know their data is safe, they understand what we need access to during repair, and they’re confident their device will be restored to working order. That peace of mind starts with a backup completed before you walk through the door. Book a consultation with Normal Gadgets today, and let our certified technicians handle your repair with the expertise and privacy protections your device deserves.
Frequently Asked Questions
How do I backup my phone if the screen is broken or unresponsive?
If your screen doesn't respond to touch, connect your device to a computer using a USB cable. For iPhone, open Finder (Mac) or iTunes (Windows) and select your device to create a local backup. For Android, enable USB debugging in Developer Options before connecting, then use Android backup tools through your computer. If the screen is completely black, contact a repair professional, they can often access your device's backup systems directly during diagnostics.
Is it safe to backup my phone before taking it to a repair shop?
Yes, backing up before repair is essential for data protection. A backup ensures your information exists independently of your device. When you choose a certified repair provider like Normal Gadgets, your data remains secure during repair. We maintain strict privacy protocols and do not access personal information without authorization. Always verify your repair shop's privacy policy and certifications before handing over your device.
What data should I prioritize backing up before a phone repair?
Prioritize contacts, photos, messages, app data, and authentication credentials. Cloud synchronization handles most of this automatically if enabled. For sensitive work files or financial data, use encrypted cloud storage or an external drive. Check that your backup includes app data, as some apps store important information locally. Verify backup completion before your repair appointment to avoid losing critical information.
Do I need to factory reset my phone before taking it in for repair?
A factory reset is not always necessary, but it's a good privacy practice. Resetting removes personal data, security credentials, and biometric information from your device before it leaves your hands. However, only reset after confirming your backup is complete and verified. If your device won't power on or the screen is broken, skip the reset, your repair technician can handle data removal safely during the repair process.