Table of Contents
- Why Data Security Matters Before Sending Your Device for Repair
- How to Back Up Phone Before Repair
- How to Remove Accounts From Device Before Repair
- Factory Reset vs Maintenance Mode: Which Should You Use?
- Essential Steps to Protect Data During Device Repair
- What to Do If Your Device Won’t Turn On
- Choosing a Repair Service You Can Trust
- Frequently Asked Questions
Last Updated: September 1, 2026
Why Data Security Matters Before Sending Your Device for Repair
Handing over your device to a repair shop means handing over access to everything on it: photos, emails, banking credentials, work files, and personal messages. Data breaches during device repair happen when technicians access personal information, when devices are mishandled during transit, or when shops lack proper security protocols.
Protecting data during device repair requires deliberate action before you hand over your device. At Normal Gadgets, we’ve completed over 125,000 device repairs with a strict privacy policy ensuring no unauthorized access to personal information. The steps in this guide will walk you through backing up everything you need, removing sensitive accounts, and verifying that your device is secure before it leaves your hands.
How to Back Up Phone Before Repair
Before anything else, back up your device. A backup ensures your data isn’t lost if something goes wrong during repair. Use both cloud and local backup for maximum protection.
Cloud backup options
Cloud backup stores data on remote servers maintained by your device manufacturer or a third-party service. It syncs automatically and allows restoration to any device.
For iPhone users, iCloud is the standard option. Open Settings, tap your name, then iCloud, and select which data to back up: photos, contacts, calendars, and notes. Verify the backup completed by checking the timestamp in Settings > [Your Name] > iCloud > iCloud Backup.
Android users have Google One, which backs up contacts, calendar, photos, messages, and app data. Open Settings, navigate to Google Account, select Manage Your Google Account, then go to the Backup tab. Ensure backups are enabled.
For laptops, enable iCloud (macOS) or OneDrive (Windows) and verify your most recent backup is current before repair.
If you use multiple cloud services (Gmail, Dropbox, Microsoft 365), ensure each one has its own backup enabled. Don’t assume one service covers everything.
Local backup methods
Local backups store data on a computer or external drive under your direct control, offering more privacy since data never leaves your possession.
For iPhones, connect to a Mac or Windows PC and use Finder (Mac) or iTunes (Windows) to create an encrypted backup. Check the “Encrypt local backup” option, unencrypted backups can be accessed by anyone with access to your computer.
For Android devices, connect via USB and use Android File Transfer or your manufacturer’s backup tool.
For laptops, external hard drives remain the most reliable local backup method. Use Time Machine (macOS) or File History (Windows), which create incremental backups storing only changes since the last backup.
The best backup strategy uses both cloud and local methods. Cloud handles day-to-day sync and accessibility. Local backup protects against cloud service outages or account compromise.
How to Remove Accounts From Device Before Repair
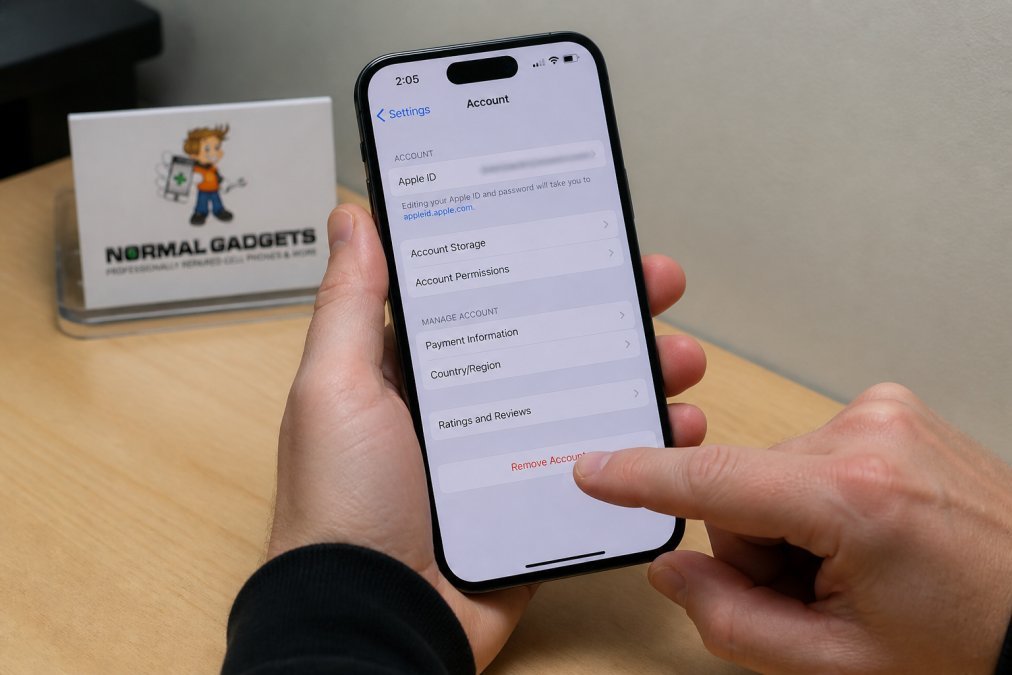
Removing your accounts from your device before repair is the single most important step to protect data. When an account is signed in, technicians can access your email, cloud storage, social media, banking apps, and anything else connected to that account.
Removing email and cloud accounts
Start with email and cloud accounts because these are gateways to everything else.
On iPhone, go to Settings > Mail > Accounts. Select each email account and tap “Delete Account,” then choose “Delete from My iPhone.” Repeat for secondary email accounts.
On Android, open Settings > Accounts. Select each account, tap the menu (three dots), then “Remove Account.”
For cloud accounts like iCloud, Google Drive, OneDrive, or Dropbox, follow the same process. On iPhone, go to Settings > [Your Name] > iCloud and toggle off iCloud Backup and other services, then remove the account. On Android, remove the Google account from Settings > Accounts.
For laptops, sign out of your primary user account if possible. If you must leave an account active for the technician, create a temporary guest or service account instead.
Signing out of apps and services
Sign out of individual apps storing sensitive information: banking apps, investment platforms, healthcare portals, social media, messaging apps, and password managers. Open each app, navigate to Settings or Profile, and select Sign Out or Logout.
For two-factor authentication apps like Google Authenticator, these can remain on your device but pose no risk once the underlying account is signed out.
Do NOT use “Remember Me” or “Stay Logged In” options before repair. Every logged-in session is a potential entry point for unauthorized access.
Factory Reset vs Maintenance Mode: Which Should You Use?
Decide whether to perform a factory reset, use maintenance mode, or simply remove accounts. The answer depends on your device type, the repair needed, and your comfort level.
When to use maintenance mode
Maintenance mode runs the device with minimal functionality, allowing technicians to diagnose and repair hardware without accessing personal data.
For iPhones, Diagnostic Mode (DFU mode or Recovery Mode) is the equivalent. Connect to a computer with iTunes or Finder, then force-restart your iPhone while connected. The device will show a recovery screen where the technician can run diagnostics without booting into your normal operating system. maintaining gear quality.
For Android devices, some manufacturers offer diagnostic or safe mode. Check your device manual or manufacturer’s website. Samsung devices can enter Safe Mode by holding the power button, then long-pressing “Power Off” until Safe Mode appears.
Maintenance mode works best for hardware-related repairs like Screen Repair or Battery Replacement and doesn’t require the technician to interact with your operating system or storage.
When to perform a factory reset
A factory reset erases all data and settings, returning the device to factory defaults. This is the most secure option but requires you to restore data and reconfigure your device after repair.
Perform a factory reset if the repair involves internal storage or the operating system, you’re uncomfortable with the repair shop’s privacy practices, your device contains highly sensitive information, or you’re sending it to an unfamiliar shop.
Book Consultation/Appointment →
On iPhone, go to Settings > General > Transfer or Reset > Erase All Content and Settings. Back up to iCloud first. The process takes 10-15 minutes.
On Android, go to Settings > System > Reset Options > Erase All Data (Factory Reset). Back up your data first through Google One.
For laptops, restart in Recovery Mode (Command + R on macOS during startup) and use Erase Mac and Reinstall macOS. On Windows, go to Settings > System > Recovery > Reset This PC > Remove Everything.
If you’ve already removed all accounts and signed out of all apps, a factory reset adds minimal extra security benefit but maximum inconvenience. Maintenance mode is often the better choice.
Essential Steps to Protect Data During Device Repair
Beyond backing up and removing accounts, several additional steps harden your device against unauthorized access.
Enable encryption and local drive protection
Encryption scrambles your data so that even if someone gains physical access to your device’s storage, they cannot read it without the decryption key.
On iPhone, encryption is automatic when you set a passcode (support.apple.com). Verify your passcode is strong (at least six characters, preferably alphanumeric) in Settings > Face ID & Passcode.
On Android, encryption is automatic on most modern devices. Verify it’s enabled in Settings > Security > Encryption.
For Windows PCs, enable BitLocker in Settings > System > About > Device Encryption (microsoft.com). For macOS, enable FileVault in System Preferences > Security & Privacy > FileVault (support.apple.com).
Verify backup integrity before handover
Before handing your device to the repair shop, verify that your backup actually contains your data.
For iCloud backups, check the timestamp in Settings > [Your Name] > iCloud > iCloud Backup. It should show today’s date. If not, manually trigger a backup: ensure WiFi is connected, plug in your device, and wait for completion.
For Google backups, open Settings > Google Account > Manage Your Google Account > Backup and check the last backup date.
For local backups, open Finder (Mac) or File Explorer (Windows) and verify the backup file exists, shows today’s date, and has a reasonable file size.
Document your device’s condition
Before handing your device to the repair shop, take photos or video documenting any existing damage. Photograph the screen, back, sides, and any visible cracks, dents, or water damage. Also document pre-existing issues like sticky buttons or speakers that crackle.
What to Do If Your Device Won’t Turn On
A non-booting device complicates data protection because you can’t access Settings to remove accounts. However, you still have options.
If your device won’t turn on, first try basic troubleshooting: charge it for at least 30 minutes, then attempt to power on. For iPhones, try force-restarting by rapidly pressing and releasing Volume Up, then Volume Down, then holding Side Button until the Apple logo appears. For Android, hold Power for 10-15 seconds.
If the device still won’t boot, you cannot remove accounts or access Settings. Inform the repair shop that the device won’t turn on and ask about their data handling procedures. A reputable shop will explain how they protect data when the device is non-functional.
Choosing a Repair Service You Can Trust
Data protection during device repair depends heavily on the repair shop’s policies, certifications, and track record.
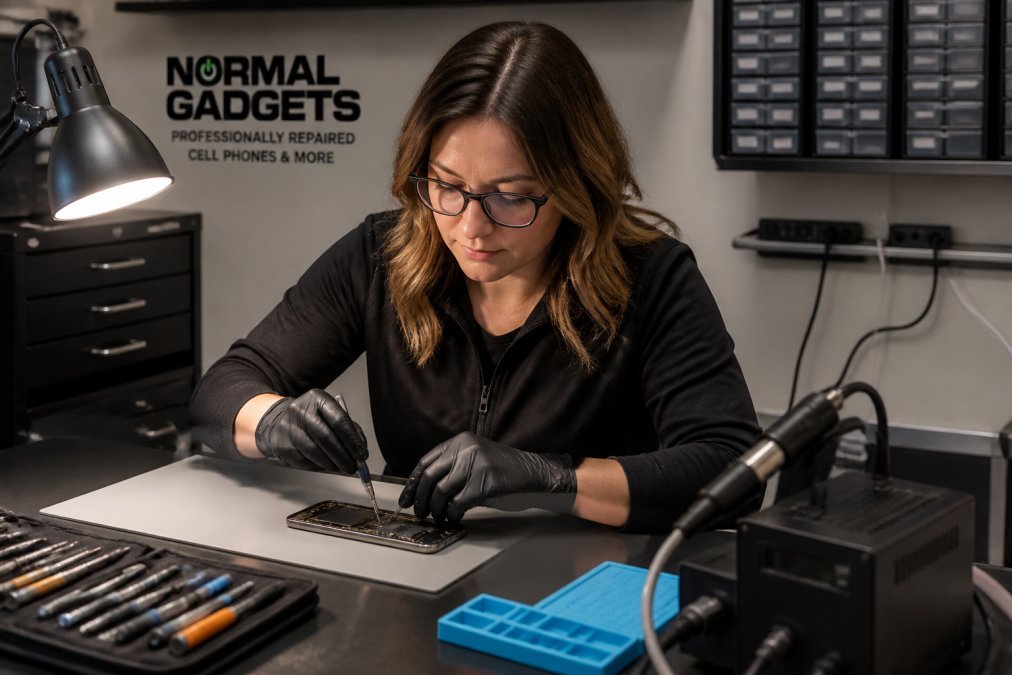
Look for shops certified by manufacturers or industry organizations. Normal Gadgets is a WISE Authorized Service Provider with WISE Certified technicians meeting nationally recognized standards for wireless device repair. We’re also an Apple and Samsung Independent Repair Provider.
Ask the repair shop directly about their data privacy policies. Reputable shops will have a written privacy policy and answer these questions:
- Do you access customer data during repair?
- What steps do you take to prevent unauthorized access?
- How do you handle devices with encrypted storage?
- What happens to data on devices you cannot repair?
- Do you have staff training on data privacy?
- Can you provide references or certifications?
Read online reviews and check the shop’s reputation for mentions of data security. Observe the shop’s physical security: controlled access, security cameras, and secure storage for customer devices.
Normal Gadgets has completed over 125,000 repairs with a strict privacy policy ensuring no unauthorized access to personal information. Our Level 3 mobile device technicians complete extensive training before working on customer devices.
Protecting data during device repair requires planning before your device leaves your hands. Back up your data to both cloud and local storage. Remove all accounts and sign out of all apps. Enable encryption and verify your backup completed successfully. Document your device’s condition. And choose a repair shop with certifications, a clear privacy policy, and a proven track record.
At Normal Gadgets, we understand that your data is as important as your device. Our certified technicians follow strict protocols to protect your privacy during repair. We offer a free visual diagnostic so you can understand the repair before committing, and we complete most repairs in 2-48 hours. Book a consultation with our team to discuss your device repair and data security concerns.
Frequently Asked Questions
Can repair technicians access my personal data without a password?
Technicians may access data depending on your device’s security settings. If your device is unlocked or lacks password protection, data is vulnerable. By removing accounts, enabling encryption, and using maintenance mode before repair, you significantly reduce unauthorized access risks. Certified repair providers follow strict data privacy policies and security protocols to prevent data breaches.
Should I factory reset my device before taking it for repair?
A factory reset erases all data and returns your device to original settings. Use this only if you’ve backed up everything and the repair doesn’t require diagnostics from your operating system. Maintenance mode is often safer because it limits technician access while preserving system information needed for diagnostics. Ask your repair shop which approach they recommend for your specific issue.
How do I back up my phone before repair if it won’t turn on?
If your device won’t power on, you cannot perform a traditional backup. Contact your repair service immediately to discuss data recovery options. Many certified repair shops can recover data from non-booting devices using specialized hardware and software. Document the device’s condition before handover and ask about their data recovery capabilities and security protocols.
What should I do with my SIM card and cloud accounts during repair?
Remove your SIM card and store it safely before sending your device for repair. Sign out of all cloud accounts, email, and app-based services to prevent unauthorized access. Use two-factor authentication on critical accounts for added protection. After repair, reinsert your SIM card and sign back into your accounts using secure methods to verify device integrity.